The Billet Specialties radiator overflow tank (part # 77109) is a very cool product. Visually, the Billet Specialties radiator overflow tank matches the Billet Specialties power steering reservoir (part # 77910). Check out this custom installation of the Billet Specialties radiator overflow tank and the radiator overflow line connected to the Be Cool radiator.

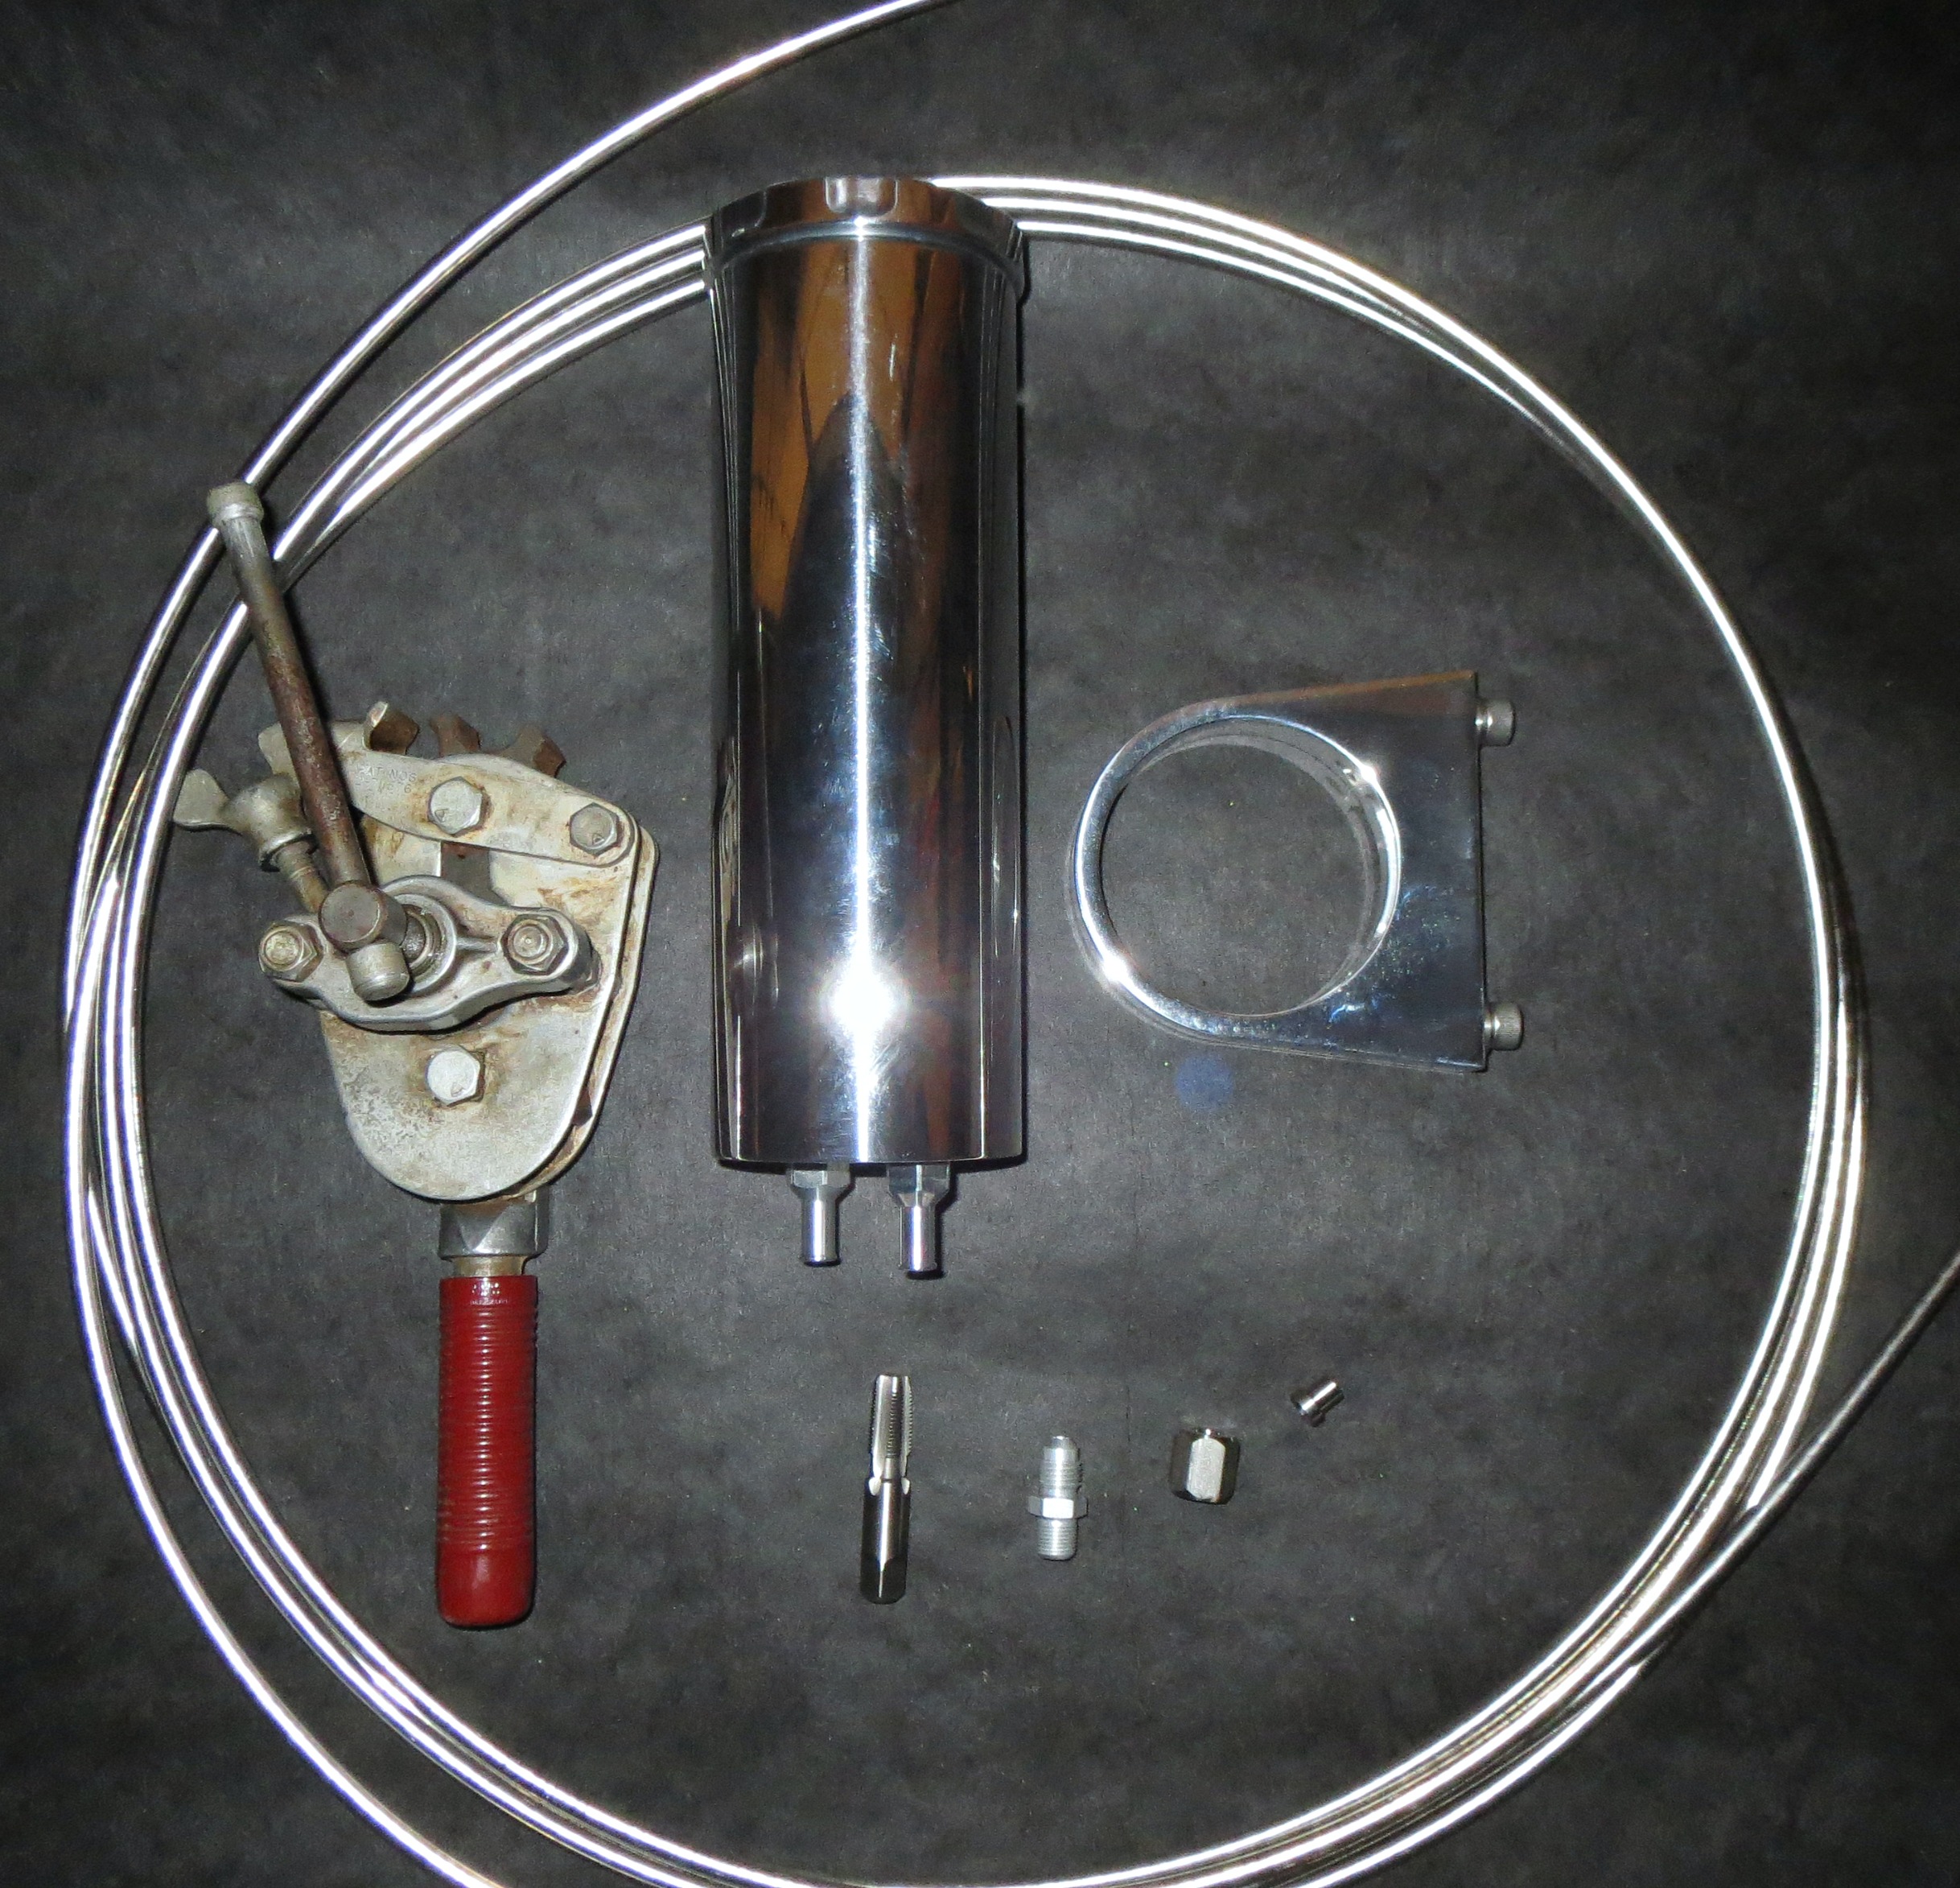
The items needed for this part of the build are: the Billet Specialties radiator overflow tank, 1/4″ stainless steel tubing, AN-4 to 1/8″ NPT adapter (Fragola 481604-CL), AN-4 stainless steel b-nut and collar, 1/8″ NPT tap, 37 degree flaring tool.

The installation of the Billet Specialties radiator overflow tank for my application, is a very similar procedure when compared to my power steering reservoir installation. I describe a detailed installation of the power steering reservoir in “Custom Power Steering Hoses-No whining about it!” Basically though, the same idea as before – an aluminum sub-structure and a custom aluminum close out plate were built, and then plumbed through the inner fender.

The other part of this project is plumbing the overflow tank to the Be Cool radiator. There are several ways to accomplish this, but I chose to connect to the radiator with an AN-4 fitting. To do this, first it is necessary to remove the push tube fitting from the filler neck of the Be Cool Radiator. I used a set of pliers and twisted it out.

Next, tap the radiator hole for the 1/8″ NPT. While doing this, it is very important not to let the shavings from the newly cut threads fall into the radiator. I used a shop vac to catch them as I tapped the threads.

Before installing the Fragola AN-4 to 1/8″ NPT adapter, I shaved the threads down on the 1/8″ NPT side of the adapter so it will clear the radiator cap internally. Also, for my application, it was necessary to shave down the nut element part of the adapter. The Fragola adapter nut is usually 9/16″, I shaved this one down to a 7/16″ to clear the lock ring that secures the radiator cap externally. Once the length was short enough to clear the inner cap diameter, and it cleared the outer diameter lock down ring, I covered the threads with teflon tape and tightened the adapter down.

Moving on to the 1/4″ stainless steel tubing. This is a very standard procedure and I used an Aircraft flaring tool with synthetic motor oil as a lubricant. It is very important not to scar the face of the flare as your flaring the tubing. Also, cracks can form on the outer edge of the tube as you expand the flare. The oil will prevent the scaring on the face of the flare. Sand paper or rounding the edge of the tube will prevent cracks from forming while the flare process is being performed. After the flare was completed, it was edge dressed again to make certain no future cracks will form. The stainless steel b-nut and collar were then slid on over the flare. I purchased the collar and b-nut from McMaster-Carr. This assembly is ready to bend into place.
 The Billet Specialties radiator overflow tank was installed on the passenger side in the same position as the power steering reservoir on the driver side (not shown here). The 1/4″ stainless steel tubing was bent using a tube bender from Home Depot. I chose to make the overflow line very simple and only bent to a 90 degree then disappearing under the inner fender.

The 1/4″ stainless steel overflow line that disappears under the inner fender was then routed around the battery tray to the inlet side of the overflow tank. This line does not contact any surface along its routing, but I will most likely secure it during the final fit. The tubing will be connected to the overflow tank with a small section of rubber hose and hose clamps. The actual overflow / overboard port will also have a small section of rubber hose and stainless line to direct the excess fluid away from the front tire.

Here is another angle of the Billet Specialties radiator overflow tank with the connecting overflow line. This illustrates a very clean installation, and I am very pleased with the overflow tank and its simple installation. The battery will be relocated to the trunk and shown in a future article. The battery tray area will be covered up by a plate in the future.

Once the Billet Specialties radiator overflow tank installation is complete, it produces a very balanced look with the power steering reservoir. Symmetry tends to make photos look better and I strive to keep things looking even and simple. The Billet Specialties products are superior products and well worth the price in my opinion. I am very happy to pay for a superior product: “You get what you pay for”.
Thanks for keeping up with HotRodRegal.com . Keep checking back soon for some cool ideas and some more cool parts that really clean up the LS platform! Also, big news in the upcoming month for the LSX El Camino!
-Matt