- LS Steam vent issues are becoming easier to navigate around with aftermarket kits. C&R Racing has created a LS engine steam vent kit (part # 78-10000) that can be assembled in several different configurations. When plumbing a LS steam vent line, something one may not consider is what obstacles will be in the way of a functional and aesthetically pleasing routed vent line. The intake is one such obstacle. The C&R Racing LS steam vent kit can be used with high-rise intakes (for carburetors), truck intakes, and from my personal experience – a F.A.S.T. 90mm car style intake. The kit includes all the necessary AN fittings, stainless steel hardware, O-rings, and the necessary tubing to route the LS steam vent in a professional and visually pleasing manner.
-

The LS steam vent kit comes double boxed to prevent shipping damage to the tubing. The AN fittings, O-rings, and hardware are all packaged together to prevent loss. NICE! This kit includes push lock tubing, three 90 degree AN-4 fittings, two straight AN-4 fittings, two steam blocks, two O-rings, AN-4 to 1/8 inch NPT, and 2 stainless steel bolts & washers. Per the instructions in the kit, it states the C&R Racing LS steam vent kit can be plumbed in two configurations. One allows for the steam vent to be plumbed to the radiator, which requires a steam vent port on the radiator or a 1/8th inch bung to attach the included AN-4 adapter. The other configuration allows for the steam vent to be plumbed directly into the water pump (hot side), which requires the popular choice for many – drilling and tapping of the water pump.
As most of you have seen on my website, I do not have a radiator with a steam port (only an overflow port). Also, I do not wish to drill and tap into the LS3 water pump. I have read many articles that do tap into the water pump on the return side and it does yield a very clean and functional product, it is simply my preference to not go this route. I chose to create a third option for plumbing the LS engine steam vent kit with some of the parts I already had on the car. As seen in one of my last articles (“Plumbing To BeCool”), I purchased a radiator hose coupler (JEGS part# 51155) along with an AN 4 to 1/4 inch NPT adapter (JEGS part# 110103). I will show you how I used these parts to make a third option for plumbing the steam vent line.

Removing the factory LS steam vent lines and cleaning the area is the first task. A 10mm socket with an extension makes quick work of this.

Once removed, it is very important that the area is clean and free of contaminants before going any further. I used a foam ear plug to cover the steam vent hole. The contaminants were cleaned up using lacquer thinner, 1000 grit sand paper, and a pick (for the stubborn hard to reach areas).

Once the area was prepped for the new parts, the C&R Racing parts were ready to go on. The LS steam vent blocks are the first part to be installed. They have an o-ring that will need to be lubricated before installation. The o-rings I received were already on the blocks to prevent damage during shipping, so they were removed, lubricated with a lightweight oil, and re-installed on the blocks. Next the blocks were installed on the heads using the included stainless steel hardware.

It is very important to use a calibrated torque wrench in all build up techniques. The M6 x 30mm allen head bolt for the passenger side block was torqued per the instructions to 84 in-lbs. Using the F.A.S.T 90mm intake (car style) this double outlet steam vent block has to be installed on the passenger side due to clearance issues. I am pretty sure if you use the intake for a carburetor, or a high-rise intake, these blocks could be interchangeable from passenger to driver side. (keep checking back on that, because I intend to install one of these kits on my friends El Camino also). Next, the driver side single port LS steam vent block was installed using M6 x 16mm allen head bolt and torqued the same.
In the kit, there are three 90 degree AN-4 push lock hose barbs fittings. The first one is used on the passenger side double outlet steam block on the top AN-4 Male outlet port. It was my choice to use the second 90 degree AN-4 push lock hose barb fitting on the radiator hose coupler with the AN-4 to 1/4 inch adapter. These two points will be connected for the steam return (a.k.a. the hot side).

The C&R Racing LS steam vent kit comes with plenty of extra push lock tubing. I roughly routed the tubing and made a cut using a new straight razor blade. The push lock hose barbs are to be lubricated before assembly into the push lock tubing per the instructions (trust me you will want to!). This type of hose is pretty amazing, it is a very tight fit and rated for 250 psi at temperatures of -45 to 300 degrees F.

The push lock hose with the An-4 fittings look nice and are very durable. I have a design theme I am trying to keep with, so I dressed up the hose a little with an anti-chafing braid and some shrink-wrap prior to completing the other end of the tubing/fitting connection.

The end result is a very cool looking LS steam vent line.

This line is now ready to be connected to the passenger side double outlet steam block and the radiator hose coupler. I have included the length I used, but keep in mind, these are custom lengths for my situation. In the next photo, the ends of the radiator hoses are not completed but more on that in a future article.

On to building the cross over line. I used the same technique as the other line but a shorter length was needed. In the C&R Racing LS steam vent kit there are also several straight AN-4 fittings. The cross over line uses the last AN-4 90 degree fitting and a straight AN-4 fitting.

The 90 degree fitting is tightened down to the driver side steam vent block and the straight fitting is tightened down to the passenger side. I also dressed up the line with the braided covering.

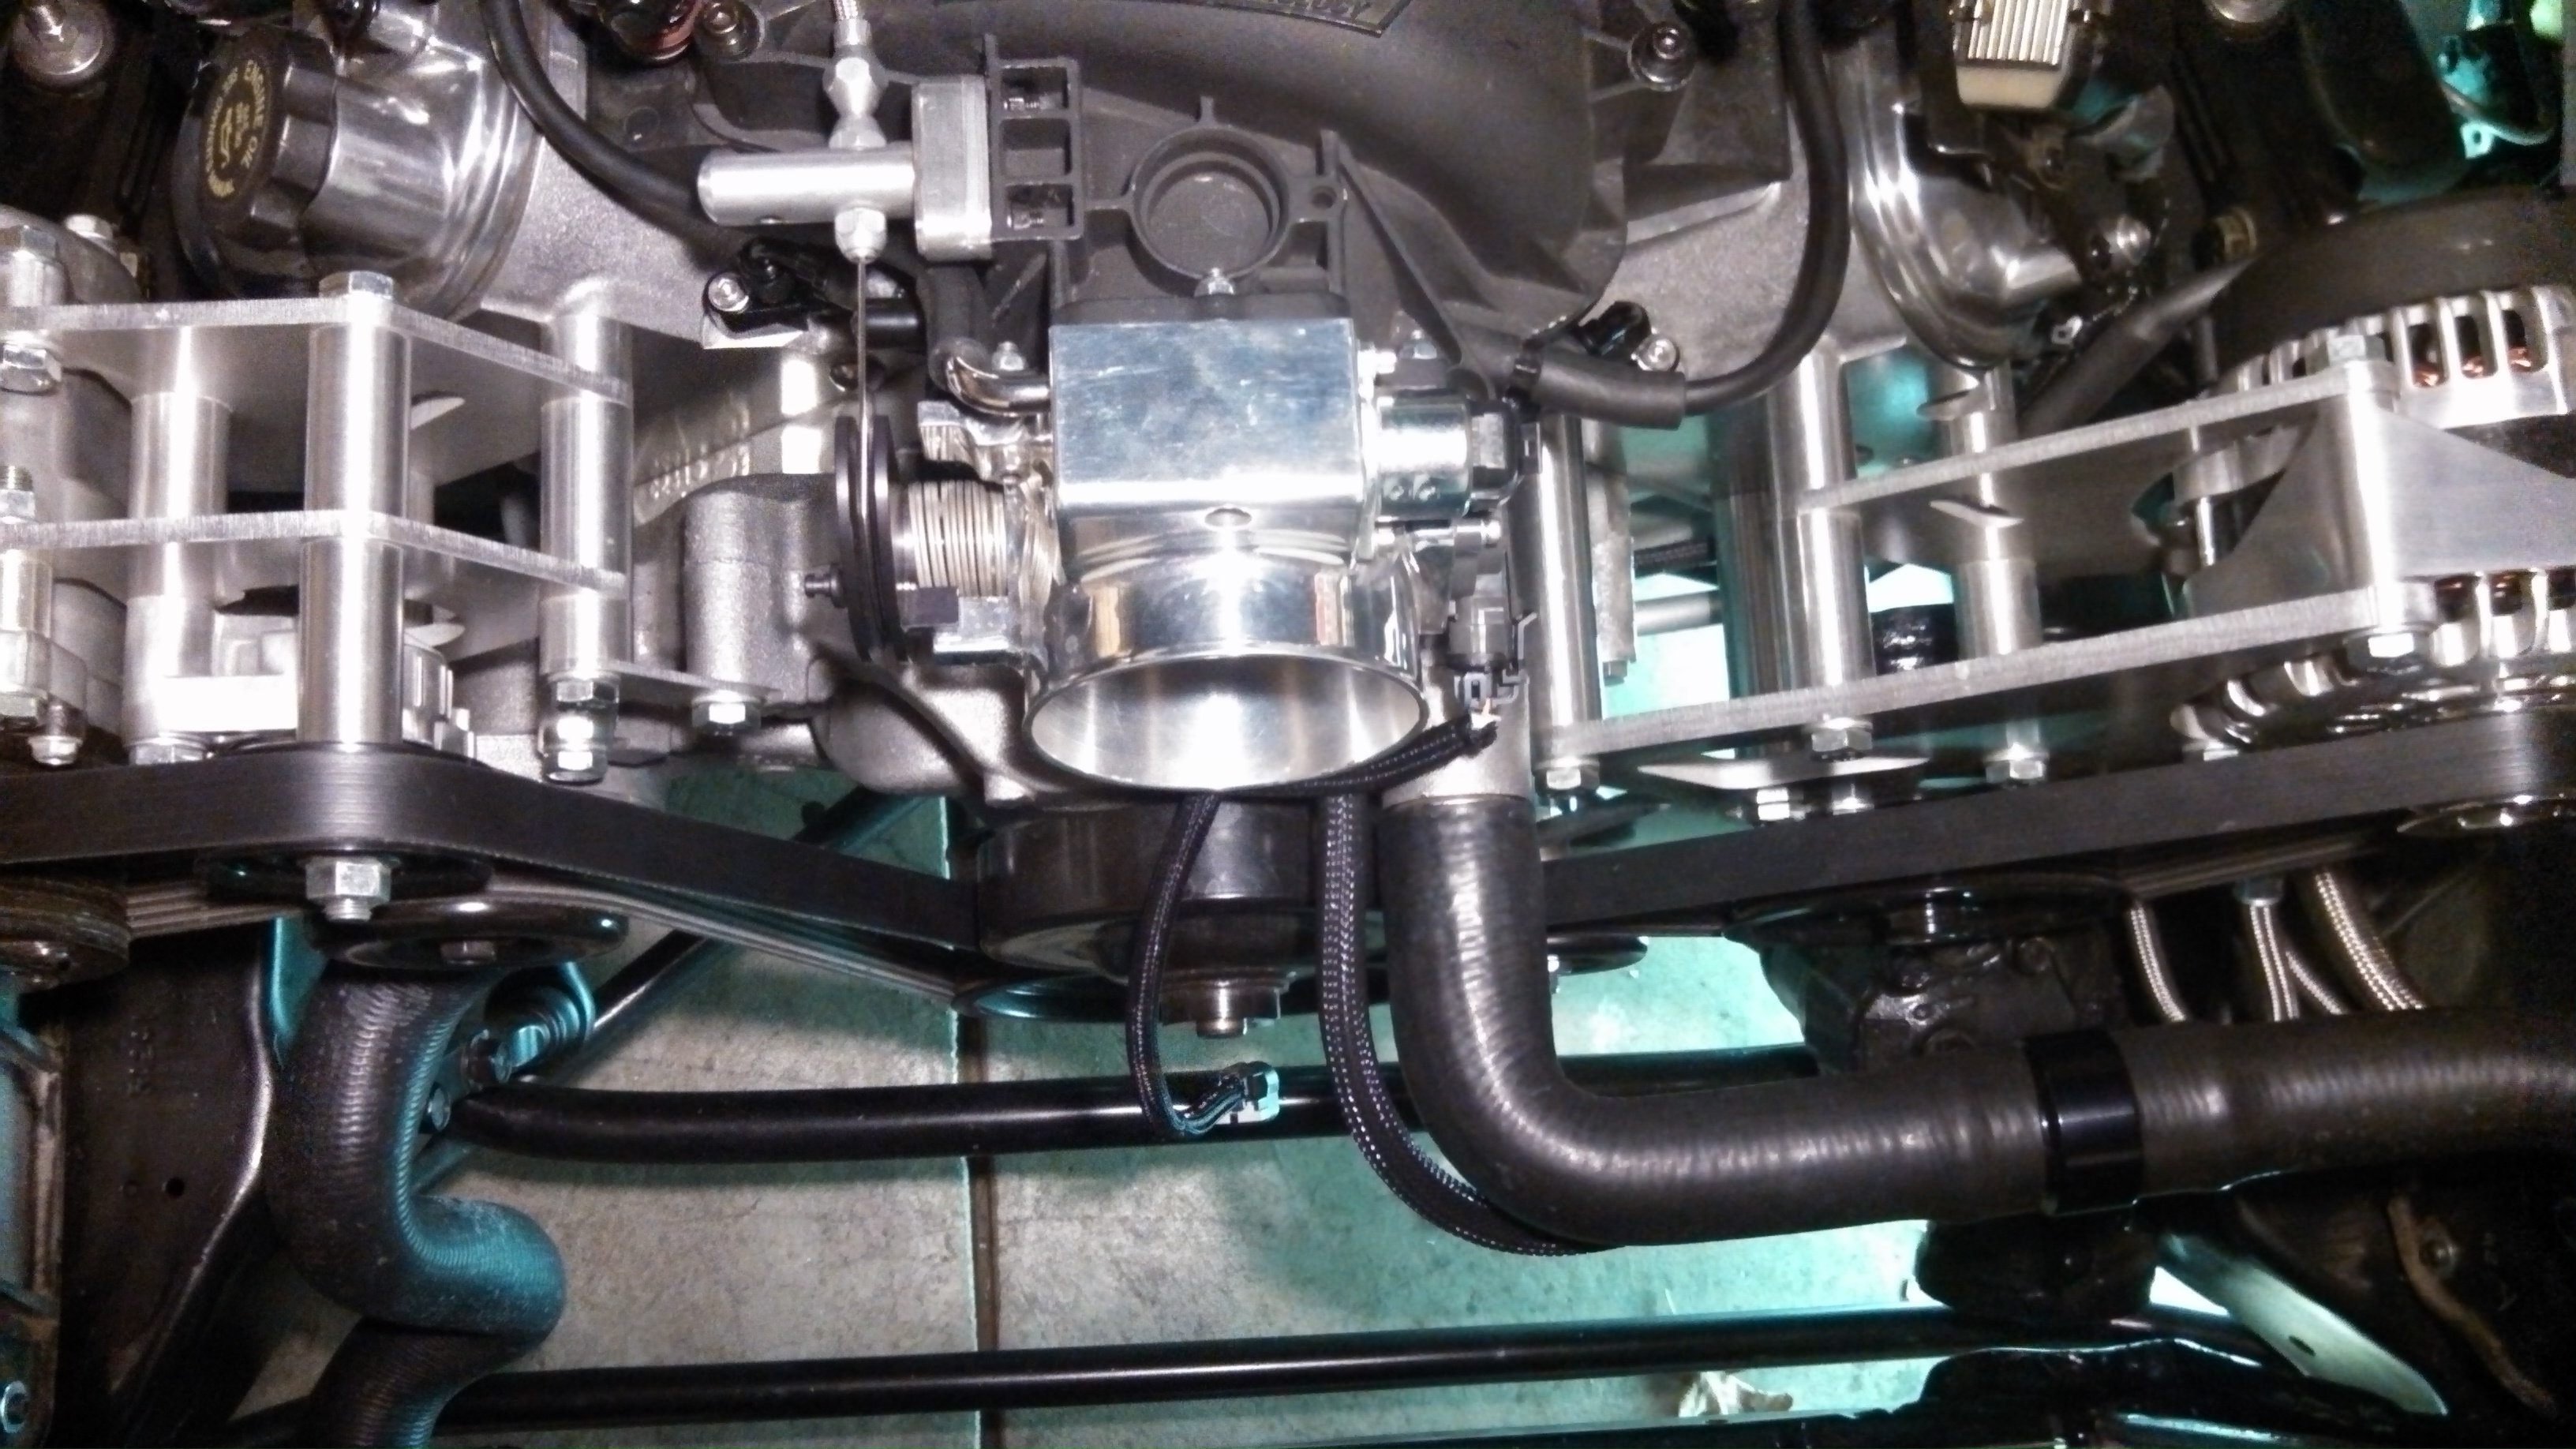
As seen in these photos this kit really cleans up the LS steam vent. I’m sure there are probably other ways to accomplish this task, but I like the plug and play aspect of the C&R Racing LS steam vent kit. Also, just by using a radiator hose coupler, I was able to create a third option for installing the C&R Racing steam vent kit.

When this engine build up is complete, the steam vent will visually blend in to the surrounding items (it may even disappear after the air intake tube is installed). That “blending in” or “disappearing” is exactly the look I was striving to achieve. Stand alone, this LS steam vent looks professional, is engineered for performance as well as aesthetics, and is just down right cool looking! So my opinion is the C&R Racing LS engine steam vent kit is a huge success and a very good investment!
Thanks for keeping up with wwwHotRodRegal.com
-Matt
2 thoughts on “LS Steam Vent – C&R Racing steam vent kit”