Flaming River EZ fit steering shaft fits

Purchasing aftermarket parts can be tricky when mixing and matching manufacturers. I like “Bolt on and go” parts when the bolt on part works with everything else I have. The Flaming River EZ fit steering shaft (part # FR1857-20S) is a part that is a “bolt on” item that works. The EZ fit steering shaft fits the G-body like a glove when using the BRP Hot Rods motor mounts and headers in a G-body LS engine swap. This steering shaft is stainless steel, fully assembled, and comes with the required hardware to make this a very simple installation! It is as advertised, easy to install and only takes minutes with basic hand tools.

Steering is an extremely important part of a car. It is a core safety item as well as a primary control. It makes no sense to spend any money on power, performance, or looks if you can not safely control them. In my opinion, this is not an area to simply go to the junkyard and get a worn out part. The Flaming River EZ fit steering shaft is engineered for superior strength, superior performance, and safety. The hexagonal shaft is designed for torsional strength and it’s ability to slide against the spring tension allows for shock absorbing and a few inches of collapse for safety. The stainless steel universal joints locked into place at both ends eliminate the use of a rag joint, provide instant vector input, and give a very precise steering feel. This item should probably be on everyone’s list as a safety/performance upgrade.

When ordering the Flaming River EZ fit steering shaft, it is necessary to know what length and what end connections you will need. On the Hot Rod Regal, I am using a stock g-body, floor shift steering column and a quick ratio, saginaw style steering box.  Using these stock G-body parts, a 1 inch – double “D” end is needed for the column side and a 3/4 inch – 30 spline end is needed for the steering box side .

The first step was to take a measurement. This was just under 18 inches so a 20 inch part was needed. Notice the steering column has a hole on the one flat side of the double "D" end.
The first step was to take a measurement – 18 inches is just a bit to short, so a 20 inch part was ordered.  The 20 inch EZ fit steering shaft will compress and fit perfect. Note the large hole in the flat section of the steering column. The first set screw will be installed here, but will not be a tight fit. My solution is in the next few photos.
As shipped from Flaming River, a fully assembled intermediate steering shaft.
Install of EZ fit part 1
The double “D” end is a snug fit, so a light tap seats it. I protected the ceramic coated headers just in case.
EZ fit install part 2
The EZ fit steering shaft has 2 cross drilled holes to lock down the universal joint to the column. The first hole is on the flat side of the column and is installed with locktite. A jam nut is then installed to keep it from backing out. The other hole will need to be drilled out for the second set screw. I used the set screw to mark the position and then drilled it out using a 1/4 inch drill bit.
I drilled out a hole that was the same size as the set screw to make this a no play installation.
Once the hole was aligned I used a tap to continue the threads from EZ fit steering shaft into the column.
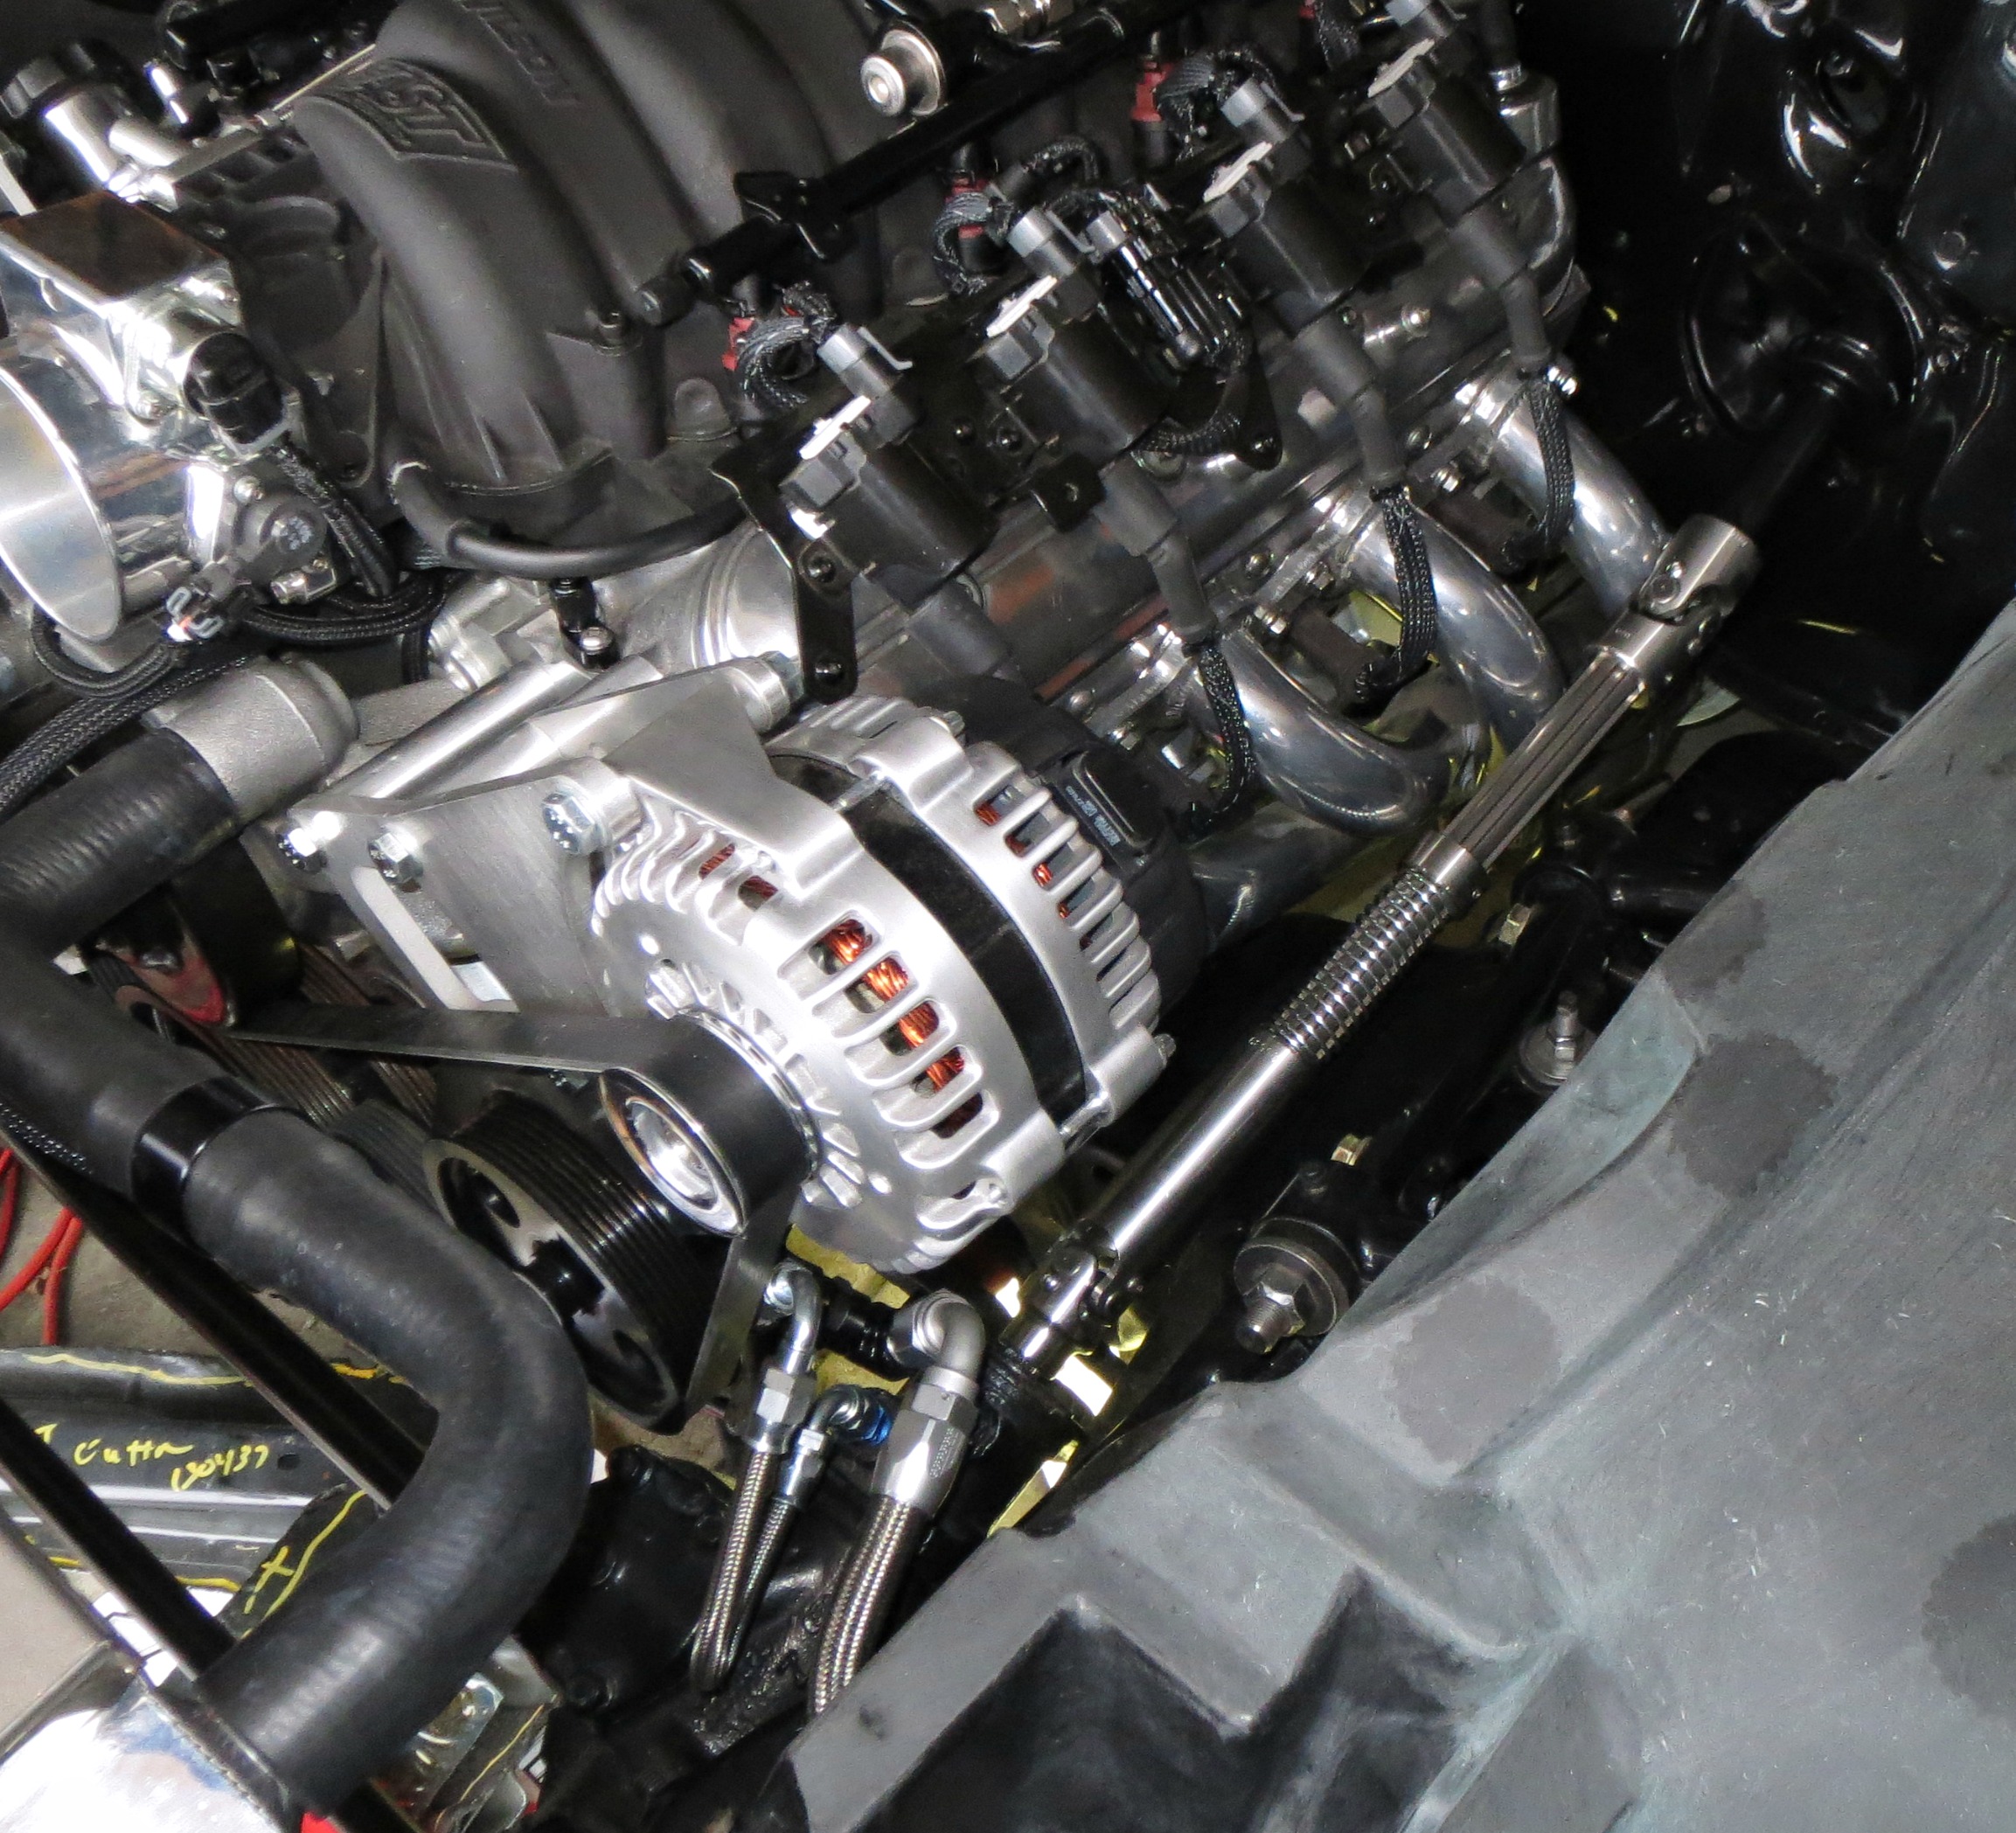
With both set screws, jamb nuts, and locktite installed; a quick look to see if everything would clear. It is close, but it does have clearance.
With both set screws, jam nuts, and locktite installed; a quick look to see if everything would clear. It is close, but it does have clearance.
On to the steering box side with the 30 spline universal. Again, I marked a place for the set screw using the set screw (the round outline). I only made a small drill start mark at this point to better seat the point of the set screw.
On to the steering box side with the 30 spline universal joint. Again, I marked a place for the set screw using the set screw (note the round outline). Only a small drill start mark will be made at this point to better seat the point of the set screw. In this photo, I am marking the center point for the drill start mark so not to slip off when drilling.
The 30 spline universal joint is bottomed out for maximum spline engagement. The set screw is installed with a drop of locktite, tightened down, and the jamb nut is installed.
The 30 spline universal joint is bottomed out for maximum spline engagement. The set screw is installed with a drop of locktite, tightened down, and the jam nut is installed.
Now that both ends were installed, I checked the clearance again. Still good!
Seen here is the completed install.
Seen here is the completed install. This part matches my natural metal color scheme perfectly. More importantly, this will be a long-lasting and very secure performance part.
The Flaming River EZ fit steering shaft is a great addition to any project. Knowing a safe, robust, performance part being added to this build equates to piece of mind.
The Flaming River EZ fit steering shaft is a great addition to any project. Knowing a safe, robust, performance part being added to this build equates to peace of mind.

Hopefully this installation will help illustrate how easy it is to install a high quality, performance part like the stainless steel Flaming River EZ fit steering shaft.  I think it’s always a good thing to keep safety in mind when building something that will transport the most important things in one’s life (family).

Aircraft can not pull over to the side of the road when things break. If built incorrectly, or if quality and safety are not a priority, your hot rod may not be able to either.

-Matt
Leave a Comment