Moving along with the build, the radiator core support, fenders and hood were installed. All body gaps were spaced during the installation, but more on that later. The more helpful information here is plumbing the Be Cool radiator (part # 61018) to the LS engine (LS3 water pump) and the part numbers that were used to accomplish this.
The radiator is a Be Cool polished radiator designed for the G-body. A separate transmission cooler and oil cooler will be installed at a later date. The radiator makes use of the stock rubber isolators, and I used a stainless steel hold down plate. Accessory brackets are Kwik performance pieces using the recommended 6 rib belt part number GATES K060980 and a LS1 belt tensioner.

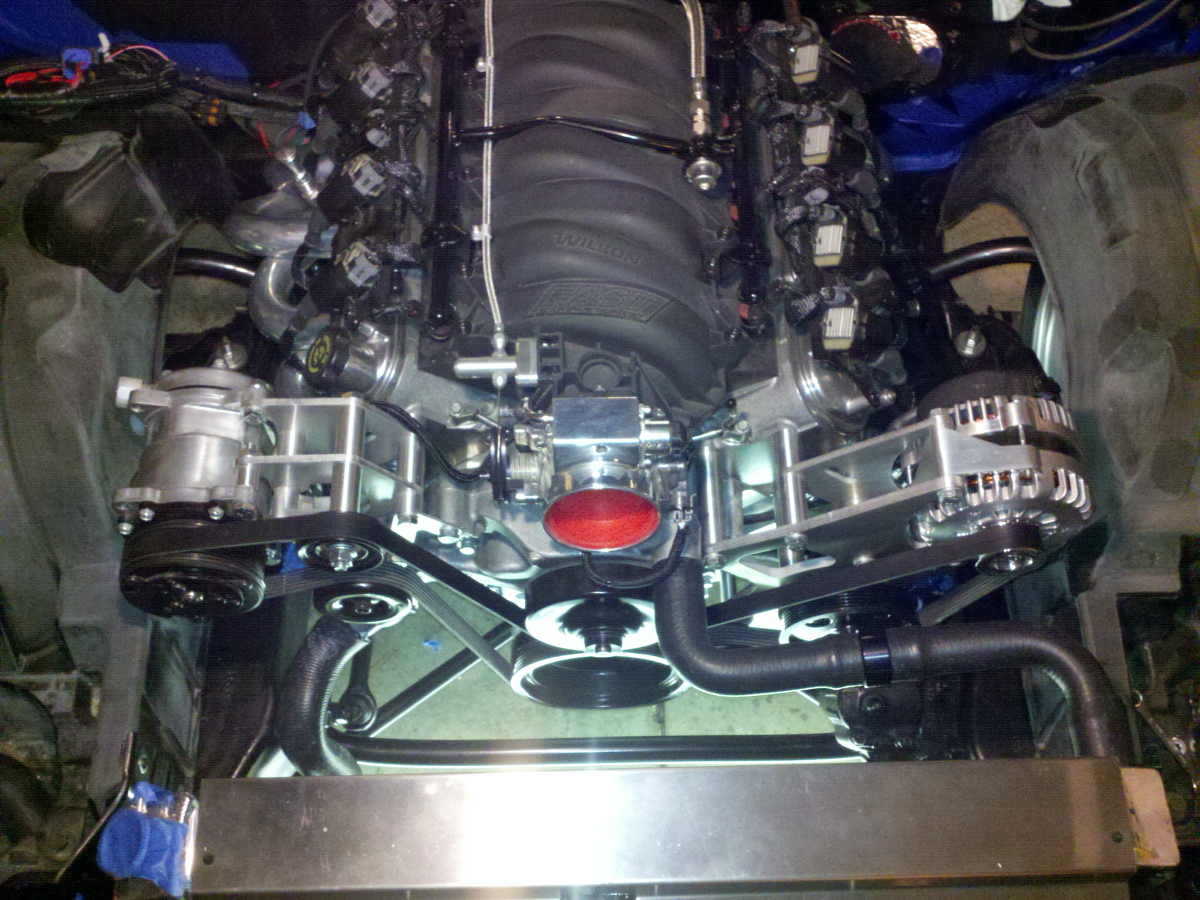
This photo shows the final product of the radiator hose installation with the steam vent coupler in the upper hose.

The upper radiator hose is a GATES 21837 hose for a 1990/1991 corvette. The steam vent will be plumbed into the other parts shown. The hose coupler is Jegs part# 51155. The GATES hose was cut and the coupler installed in the center straight section for ease of installation and aesthetics. The drain valve is removed from the coupler and the AN 4 to 1/4 NPT adapter is installed to plumb back into the steam vent. The adapter is Jegs part# 110103. I chose black parts to match the color scheme. This next photo is a detail shot of the upper radiator hose, hose coupler and 1/4″ AN fitting (on bottom) installed. The connections will be finalized with Gates Power Grip shrink clamps later for a clean look and worry free operation.

The upper hose is fairly easy to engineer with its simple geometric angles. The lower hose is something of a trial and error. I have read many forums that state the truck lower radiator hose for these LS engines will work. This was not the case. This is probably due to different parts being used in this build. That being said, this part number used here may not work for all applications. To reiterate, the parts in this build are a LS3 water pump, Be Cool radiator, and a stock gm radiator core. The lower radiator hose I found to work best is Gates 21059. It required trimming off approximately 8 inches for the perfect fit. This hose is traditionally for a late 70’s to mid 80’s C/K chevy 4×4 or a late 70’s Impalla.

This lower radiator hose was found by checking at O’reillys auto parts and test fitting. Hopefully this part # will save everybody some time!

As seen between these previous two photos, the lower radiator hose does not contact the frame or have any binding when installed.

Of course some trial and error is to be expected when engineering parts to work together, but this is my example of what the cut in the lower radiator hose looks like (approximately 8″ cut off and at an angle). Again, there are many ways to get the job done, but this I believe is a clean, simple, and cost-effective way to accomplish the radiator main line plumbing.
Before the Be Cool polished radiator was installed, and the lines were engineered; there was the time-consuming task of fitting the core support to the fenders and hood.
I am very lucky/blessed to have an experienced friend when it came time to hang sheet metal. The first part we fitted and gapped were the doors to the quarter panels. The doors were jambed and hung back when it was at the body shop for the firewall smoothing, but were in need of fine tuning. This was performed through loosening the hinges on the frame and the doors and repositioning until the upper body line matched and the rear gap to quarter panel was the same. We used a paint stir stick to check for a consistent gap from the top of the door to the bottom. As a side note, the doors I am using were re-skinned with new/old stock GM sheet metal. No rust in these doors!
The next step was mounting the radiator core support with the energy suspension frame bushings and hanging the fenders with the shims that were taken off originally. The passenger side went on perfect, but the driver side set very low on the body to fender mount and high at the radiator core support. We added shims to the fender to body mount and reduced the height at the core support to get the lines to match up.

Again we checked for consistency of the gap from top to bottom and were very pleased. The GM metal re-skinned doors were checking out very nice on both sides!
At the front connections – the fender to the core support – a measurement of the hood was taken and an 1/8th inch was added to each side for a rough start for the overall fender-core support-fender width. The fenders were loosely mounted to the core support and the new/old stock GM Grand National hood was mounted with the hinges. (Probably not many brand new Grand National GM hoods still around!) Next, we squared the front fenders to the hood and tightened the bolts on the fender/core support. Check out these hood gap results!


As you can see, once these parts were hung and gapped, I installed the Grand National header panel which also fit perfect! I am very happy with the multiple parts from different cars and different sources matching up as well as they have thus far. The Hot Rod Regal is starting to look like a car again.
A lesson learned:
Hopefully this next bit will save other Car Crafter’s some time. Since the doors were matched as best we could, and already had been painted; I thought it would be good to attach my new/old stock GM door seals.

Again, not very many of these still around, but they are worth using if you can find them!

Easy installation here, line up the inserts to the holes in the doors and press. I did not use any adhesives in this process. I did not know that something as simple as a seal could cause issues though. (as seen in the next photo)

Oops! the new door seals push out the lower edge of the door! The time saver here is simply install the door seals prior to setting the door gaps and door striker positions. While this is not a huge issue, it is something that will require moving the door around and more time(hopefully not requiring any other sheet metal moves!).
Stay tuned for more great parts being added very soon to the HotRodRegal.
-Matt