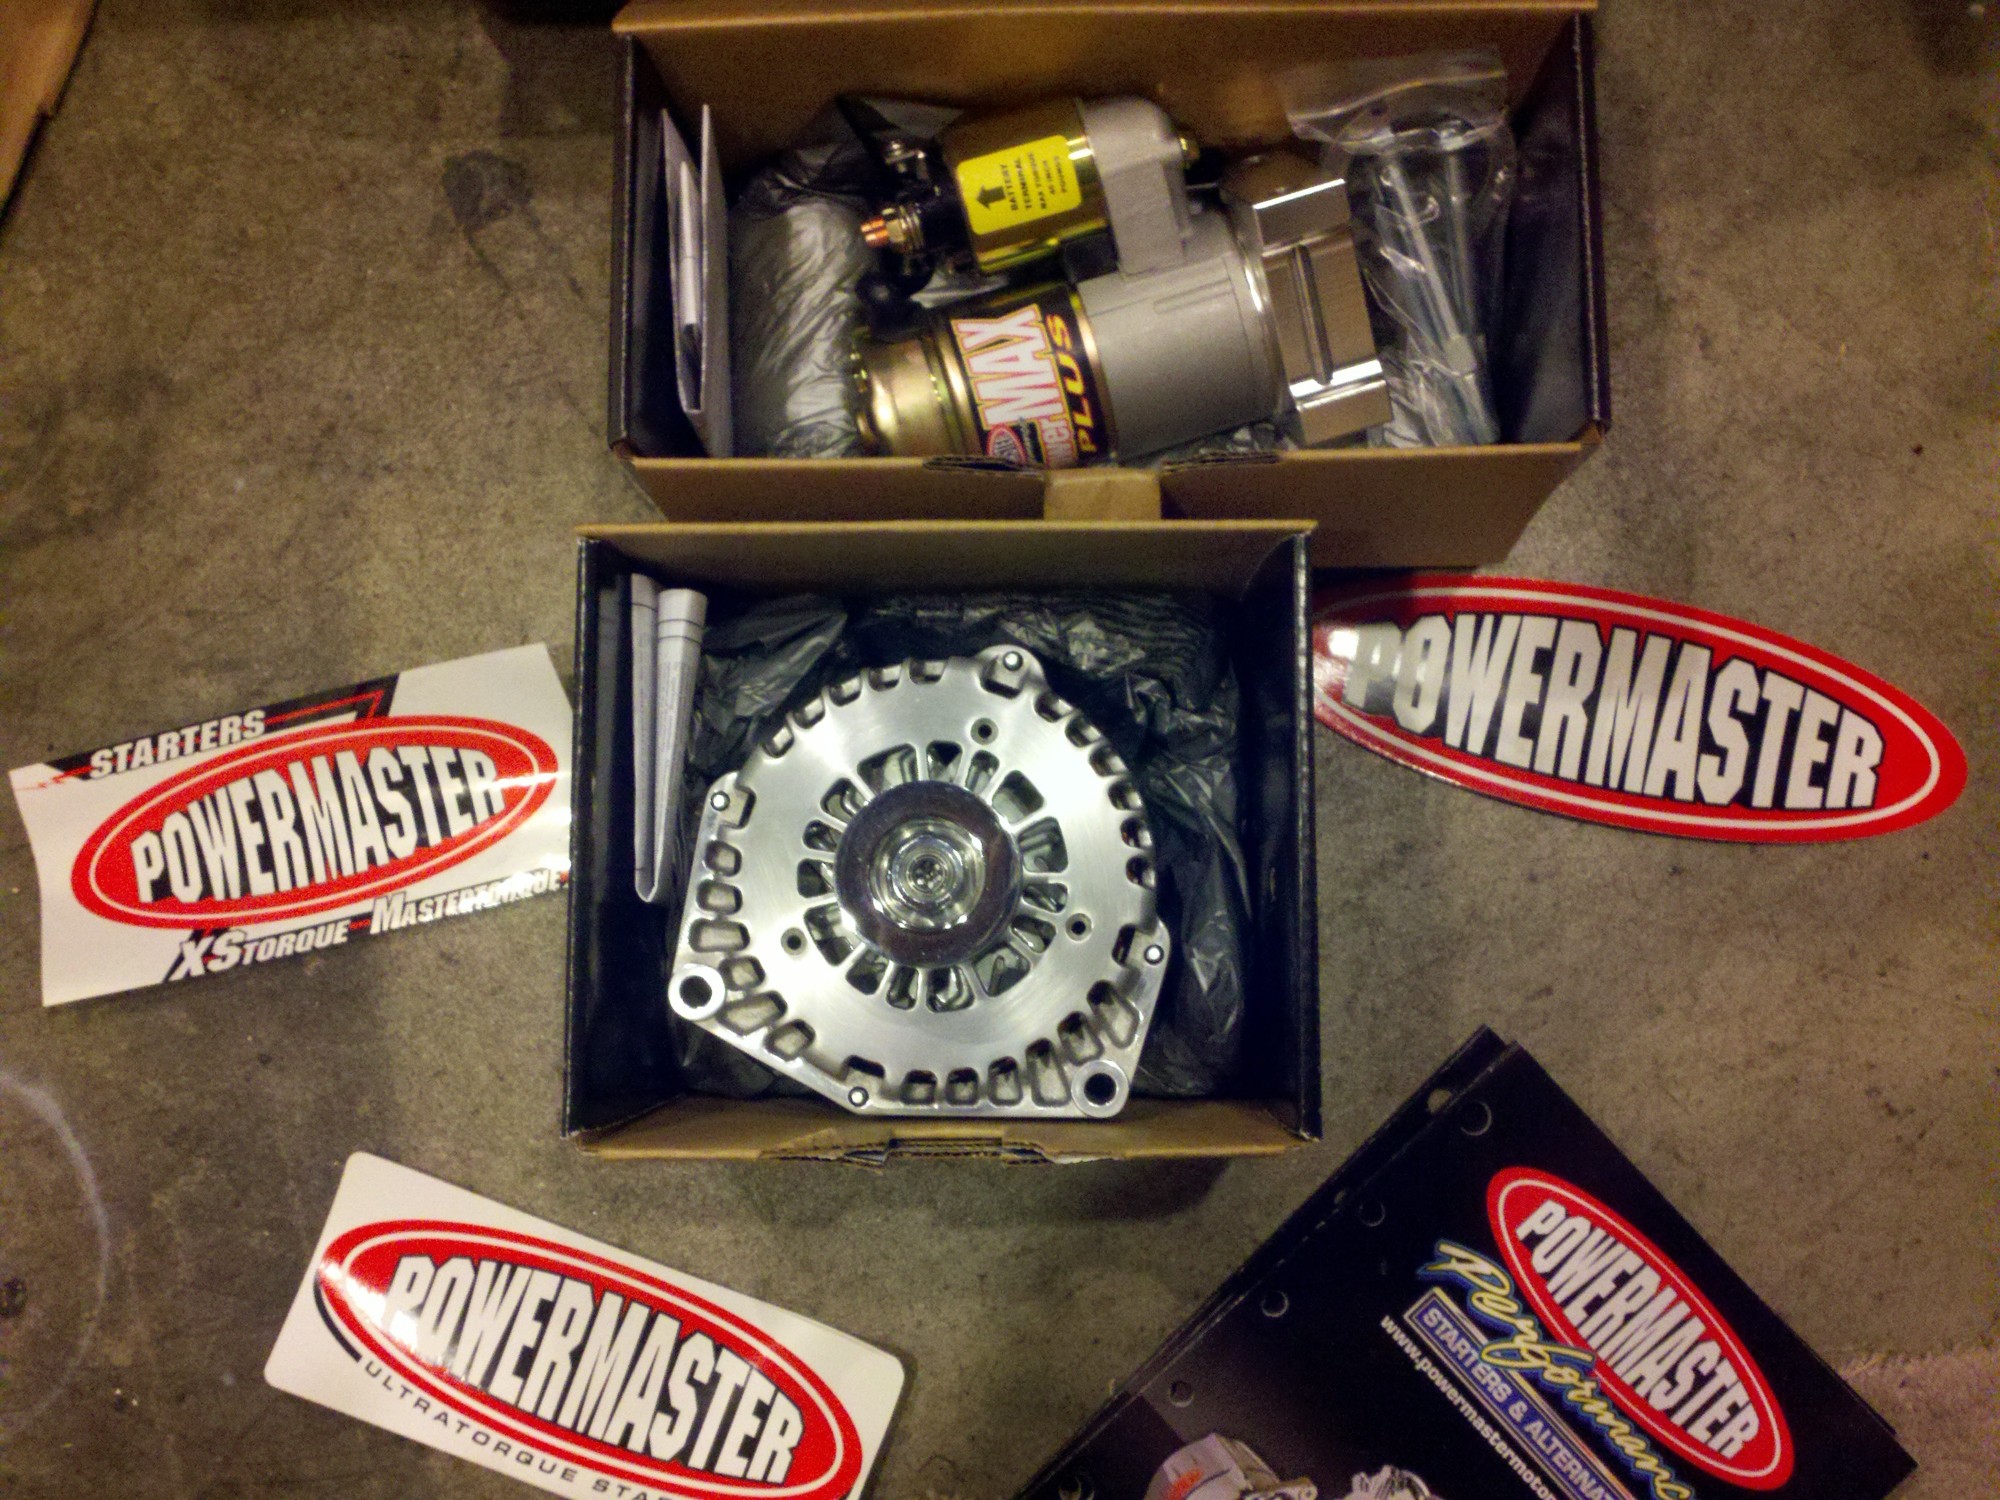
My latest addition to the project are these gems! The Power Master Starter (part# 9109) and the Power Master Alternator (part# 682371S).
I have had an excellent experience with Power Master when ordering these products. Great customer support! They took the time to explain things to me and I didn’t feel like I was being rushed through this process. I called them several times trying to figure out what I needed and each time they were very helpful and patient. Check out these photos on how I installed the Power Master starter and alternator.

The Alternator is the real show here. Part # 682371S is a one wire application with a brushed finish and a polished pulley. I went a little over board on this also and ordered it to push 140 amps at idle and 225 amps a highway output!

I really want this project to be a long term use / get in and drive it anytime or anywhere style car; so, all of these accessories are new. Theoretically, these should last a very long time.
Also a side note, all of the accessory pulleys are the “Truck” spacing.
The starter is also a very nice piece. It is completely “clock-able” and on my application, I needed to rotate it one hole. Initially the solenoid contacted the sensor plug.

This view shows the starter installed on the block and the clearance between the solenoid and the sensor plug after the rotation. Also, it should be noted that there is plenty of clearance between the solenoid and the headers.
I’m not a big fan of how many wires that the LS platform has all over the place. You may see in later write ups how I tried to “Tidy” up the mess, but for the most part, practical use will outweigh the effort to hide the wires. In this one instance though, a little pre-planning and a little engineering is worth the effort to hide said wires. I’m referring to the alternator wire. When the PowerMaster alternator was ordered, a one wire set up was chosen. The next photo shows a part that I built from 1/2″ aluminum tubing, an O’reilly’s battery cable (4 gauge), SLC shrink-wrap, and a terminal end to help hide the wire.

The intent here is to “Hide the wire”, but make a completely removable and (if need be) replaceable part without the aggravation of threading a long line. Also, the shorter the line, the better. I’m not concerned about the resistance in a 4 gauge wire from a 225 amp alternator, but less is more here. As you can see in the next few images, this wire is about as short and direct as possible, and since the tube is a natural aluminum/brushed finish, it is sure to blend in and visually disappear!

The conduit is insulated from the engine (just in case) by use of this plastic clamp. A 9/32 hole was drilled into the block at this extra boss for the clamp post to be pressed into. There is no contact between the engine and this conduit at any point along the run.

Seen here is the forward element of the conduit. It runs under the water pump and above the crank. The only time this part of the conduit is seen is when viewed from directly in front of the engine. It is not noticeable from the normal vantage point (looking down).

This image shows the final termination of the alternator wire on the brushed finish alternator. The need for a very solid attachment point was satisfied with the billet 9/16 clamp. I went up a size on the clamp because I planned on using some type of insulator to clamp the conduit. The SCL shrink-wrap over the conduit fit very snug inside this clamp and held everything in place very firm.
Thanks for keep’n up with HotRodRegal.com Be sure to keep checking for updates, as things are still progressing!
-Matt