Wanting to know more about the Mast Motorsports LSX 440 that is going into Project: LSX G-body? Well, adjust your eyeballs and hold on to your processor, because the images and videos you are about to see are behind the scenes, TOP SECRET, certified cool stuff! The one thing I don’t want to do here, is fry your brain though! So, in this edition of the Mast Motorsport engine epic, I will show some of what Mast Motorsports puts into making one of the meanest, naturally aspirated small blocks on the market. Specifically, Mast Motorsports LSX 440: engine epic part 2 will show the bottom end build-up of this LSX bad bowtie block.
The following content is your author’s original experiences while being present in the shop during the engine build. All accounts were naturally occurring events with no staging taking place. This is how it really happens!
Once the tour of the shop was over, the next 2 days were spent in the engine build / clean room with Perry Kiritsy and the other professional engine builders. This is when we got to know the guys, and have some fun! We traded some stories while watching/helping Perry with the engine build. It was very cool to see the other builders come up to Perry during the build and offer words of encouragement and place bets on the horse power level his engine might achieve. Again, fun group of guys!
As stated in the last article “Mast Motorsports engine build epic part1” the LSX block was prepped and machined prior to our arrival. It was cleaned and ready for assembly. The first part that was installed was the crankshaft.
So before we go any further, ever wonder what some of the differences are between a 7.0L and a LSX block? Perry breaks it down for us as he puts these main caps in their place!
“You definitely get what you pay for with these blocks.” – Perry Kiritsy. I agree with Perry on this one. The engineering in the LSX block is superior to the other LS blocks. Everything from cross dowel pins in the main caps, to open lifter valleys for ease of lifter installation has been engineered into these blocks.

On to the next set of parts. The pistons and rods were all lined up like the main course at your favorite Italian restaurant, complete with the white paper table covering and the waiter’s name. (Yeah, Perry wrote his name on the paper for us!) That’s probably not very amusing at face value, but every time different parts were prepped, the table covering was changed. This was to ensure clean parts were going into the engine at all times.

Lets hurry this up a bit…
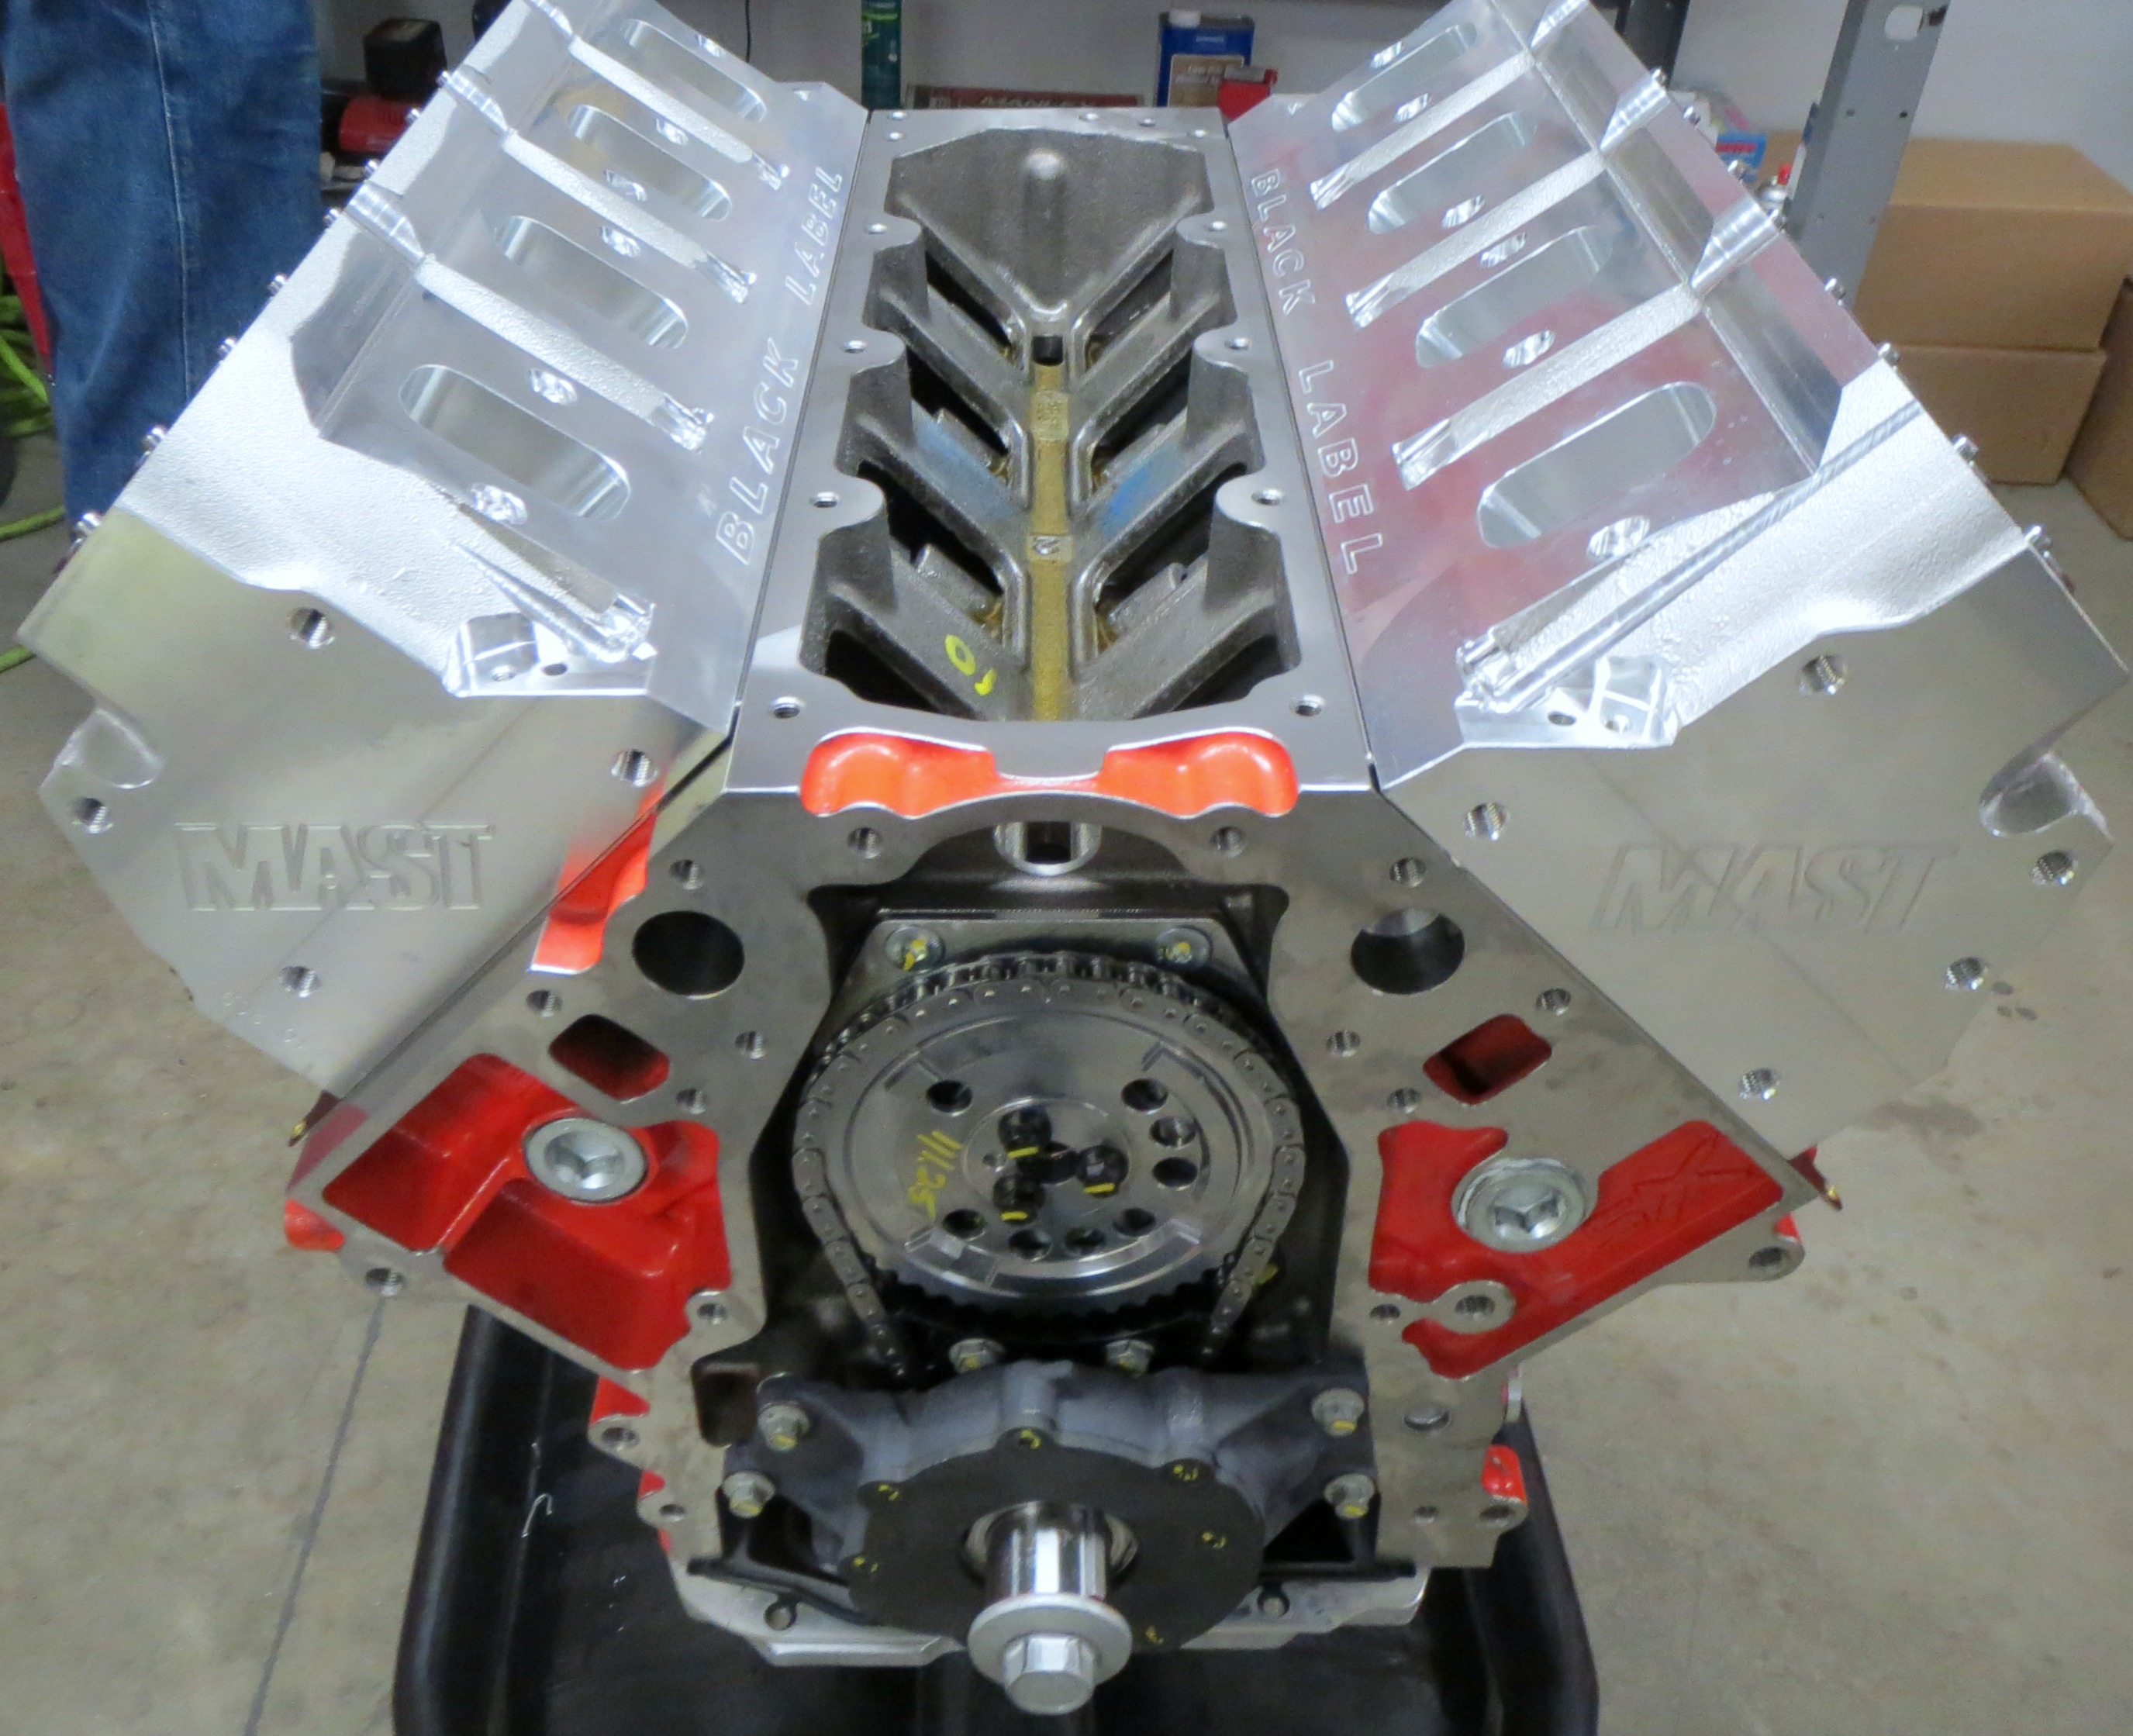
The bump stick is a custom grind designed to Perry’s specs. If you want one like this… well, your gunna have to ask Perry, but I can say it is a Comp Cam! Seen here, Perry installs the cam with bearing grease and Rotella 15w-40 oil in the can. 

This next assembly technique is something everyone can appreciate. The Melling LS high volume oil pump (part # MEL-10296), is a very nice piece and should be considered when building a high performance engine.
In this last quick clip, Perry checks the depth of the oil pick up tube to ensure the rotating assembly is fed the oil it wants with no restrictions. Again, probably a detail that is overlooked when installing an aftermarket oil pick up tube and oil pan by most, but these guys are all about the details. The Mast Motorsports oil pan (part # 401-111) and related parts we had previously purchased and checked on the G-body frame for clearance. (see the post: “Mast Motorsports oil pan -LSX G-body motor mount & oil pan part 2”)
I skipped over a few of the other pieces that went into the short block, but things like the GM timing cover, GM block oil plugs, and the ATI harmonic dampener were all standard installations. The short block is essentially built at this point, but rather than continuing the build, we decided to call it a day. It was time for a refuel and some sleep anyway. End of Day 1 – and it was Awesome!
Like all things, one must build on a solid foundation, and as you can see Mast Motorsports isn’t messing around when it comes to building up a bullet proof bottom end. My point here in this article is to illustrate that Mast Motorsports is a step ahead of the game. They are able to take high performance engine building, create an assembly line environment, and maintain that custom shop level of detail. It just doesn’t get any better than this!
In the next part of the Mast Motorsports engine epic, we will take a look at the top end assembly and what it takes to make the GM manifold mate to a set of Mast Motorsports Black Label heads. Plus, check out this Black Diamond QFT carb, more to come on that as well! Yeah, Mast Motorsports builds engines with carbs. and they bite just as hard! Stay tuned for more details. 
If you haven’t already figured it out, I am very impressed with Mast Motorsports. They are right at the heart of our hobby. Take some time and cruise through their website by clicking on the highlighted texts in this article. Also, their Facebook page, Twitter page, and YouTube channel will help you keep in tune with the latest news from these guys!
Happy Hot Rodding!
-Matt